How to Invoice a Deposit and Final Payment: Worked Examples
Use deposit and final invoice examples to show prior billing, payments and the remaining balance clearly—without charging the same work twice.
How should you invoice a deposit and final payment?
Choose one consistent billing method: one full-value invoice with partial payments, or separate invoices for the deposit and remaining work. Keep the project reference consistent and show what has already been billed and paid. Do not issue a second full-value invoice for work already invoiced.
Before requesting a deposit, agree the scope, price, amount, deadline and treatment of cancellations or changes. The deposit is part of the agreed price unless the agreement expressly says otherwise.
Examples below are fictional, in USD unless labelled otherwise, and exclude tax to isolate the billing arithmetic. They are not recommended deposit percentages or contract terms. Use the tax treatment, payment rules and contract requirements that apply to your job.
Example one: one invoice with a partial payment
A fictional $5,000 job uses one invoice, INV-101, with a $500 initial payment under the agreed terms. The invoice records the full $5,000 charge. When $500 arrives, record it as a payment against INV-101.
| Record | Amount |
|---|---|
| INV-101 total | $5,000 |
| Payment received against INV-101 | $500 |
| Outstanding on INV-101 | $4,500 |
At completion, send the customer the remaining balance or an updated view of the same invoice. Do not create a new $4,500 invoice on top of the original $5,000 charge. The outstanding balance is already part of INV-101.
Example two: separate deposit and final invoices
The same job can instead use a deposit-only invoice, INV-102, for $500 and a final-stage invoice, INV-103, for $4,500. Together they bill $5,000.
| Invoice | Charge | Payment received | Outstanding |
|---|---|---|---|
| INV-102: deposit for quote Q-101 | $500 | $500 | $0 |
| INV-103: remaining scope under Q-101 | $4,500 | $0 | $4,500 |
| Project total | $5,000 | $500 | $4,500 |
Deposit invoice annotation: identify Q-101, the full agreed value in a clearly labelled note, the $500 charged now and its due date.
Final invoice annotation: identify Q-101, show the $4,500 charge, and label any summary “project value $5,000; deposit previously invoiced as INV-102 $500.” Keep the summary outside chargeable line items so it does not duplicate the total.
If the deposit invoice is still unpaid, INV-103 is still a $4,500 new charge. Show the unpaid $500 separately with reference INV-102; total outstanding across both invoices is $5,000. Never label a deposit “paid” without a receipt.
Do not use a negative sale line to disguise a payment
A payment settles part of a charge; a discount or credit reduces a charge. They can have different tax and reporting effects. Use payment recording for money received. If you need to correct an invoice, use the appropriate correction or credit process and keep the original records. Ask your accountant about deposit tax timing or adjustment requirements for your situation.
What happens when the customer approves extra work?
If a $300 variation is approved before the final invoice, the revised job value is $5,300. Under the separate-invoice example, $500 has already been billed and the final invoice is $4,800: $4,500 base balance plus $300 approved extra. Reference the change order on its own line. If the extra was separately invoiced earlier, do not include it again.
Use the change-order invoice guide for the approval record and revised summary.
Build and check the document
Choose the right customer, use a unique invoice number for each new charge and describe the stage clearly. Preview the invoice before sending: the customer should see the amount requested now without doing their own reconciliation.
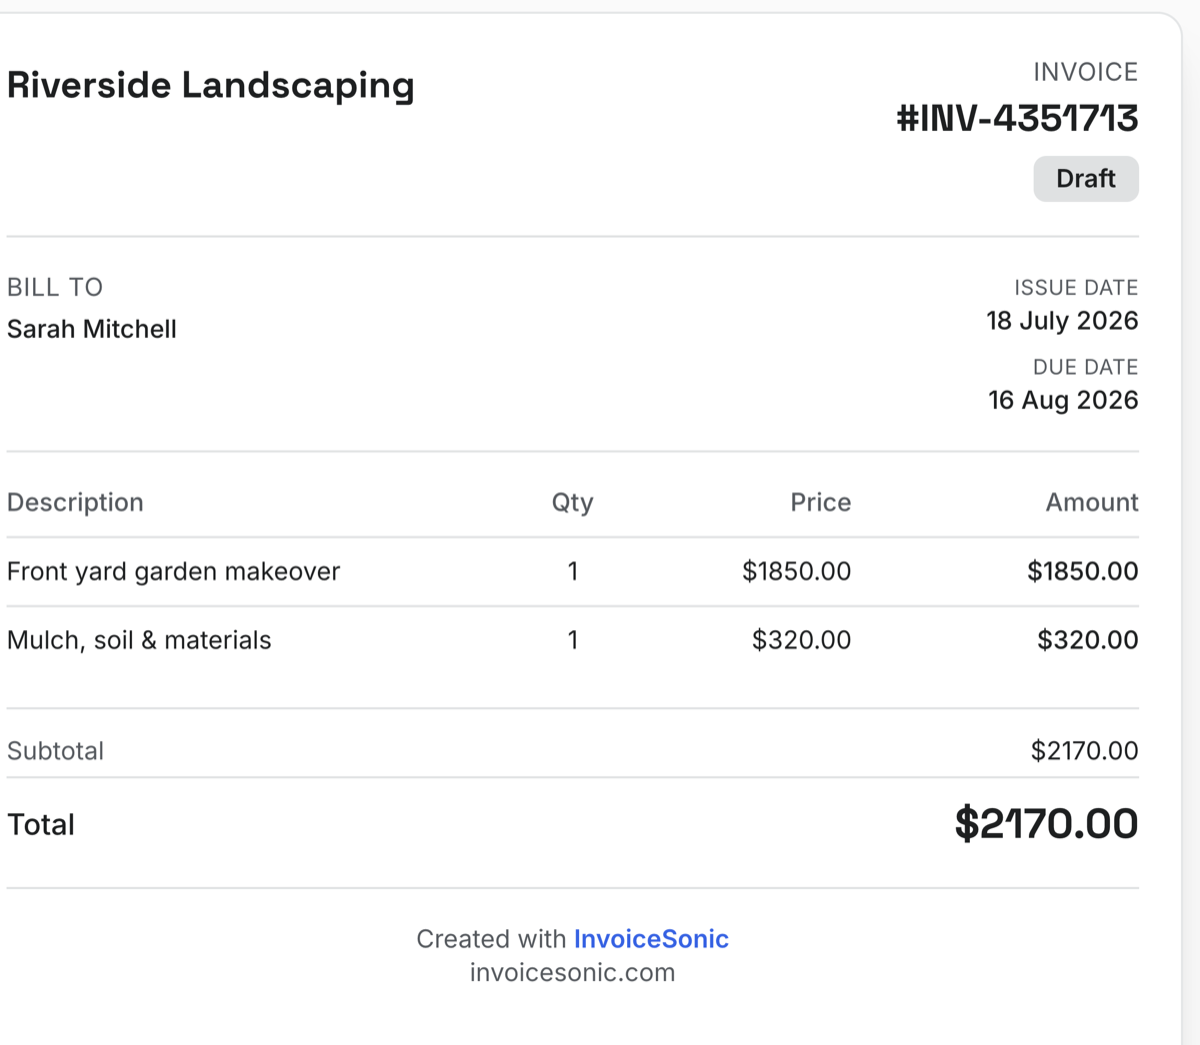
InvoiceSonic product screenshot. Use the preview to check descriptions and totals; the fictional figures in this guide are separate worked examples.
The deposit invoice guide and template helps with the first request. For longer jobs, agree a contractor payment schedule and use progress billing rather than improvising stage amounts.
Choose deposit amounts and stage payments only after checking your contract and local requirements. The payment-schedule guide includes a jurisdiction-specific example and a link to the regulator.
Before sending the final balance
- Match the original scope and approved changes to the revised total.
- Confirm which amounts were invoiced and which payments actually arrived.
- Check that total charges across the project equal the agreed value.
- Show the exact due date, payment reference and payment instructions.
- Keep invoices, receipts, approvals and any credits together.
Put the agreed scope, invoice and payment record into one repeatable process with InvoiceSonic invoicing for contractors. Start with a sample job, check the PDF, then use saved clients and payment tracking when you need an ongoing record. See current plan limits.
Put this billing workflow into practice
- Contractor invoice template for labor and stages — Choose the agreed charging basis: completed hours and materials, a fixed fee or a milestone. Match the descriptions to the approved work and make the current amount due clear.
- Free handyman invoice template — List the completed tasks, property or work-order reference and agreed charging basis. Keep materials and additional work distinct where the agreement charges them separately.
Create your invoice in 60 seconds
Your first PDF is free. Fill in the invoice, download it, and send it to your client.
Create my invoice free →